Automate the Install of Microsoft Office 2016 with an MSP File

Microsoft Office is probably the flagship product for Microsoft, aside from Windows itself. There are more installs of Office out there than there are installs of Windows (all versions). Microsoft Office is available for Windows, Mac OS X, iOS, and Android. Enterprises use Office to such an extent that a computer isn’t really useful without Office installed.

Deploying Office to multiple computers over the network, at the time of imaging, or after, is a made simple with the use of an unattended install file (MSP). These files are created using a tool built in to enterprise releases of Microsoft Office. Consumer builds of Office, Office 365, do not include this tool, the “Office Customization Tool.”

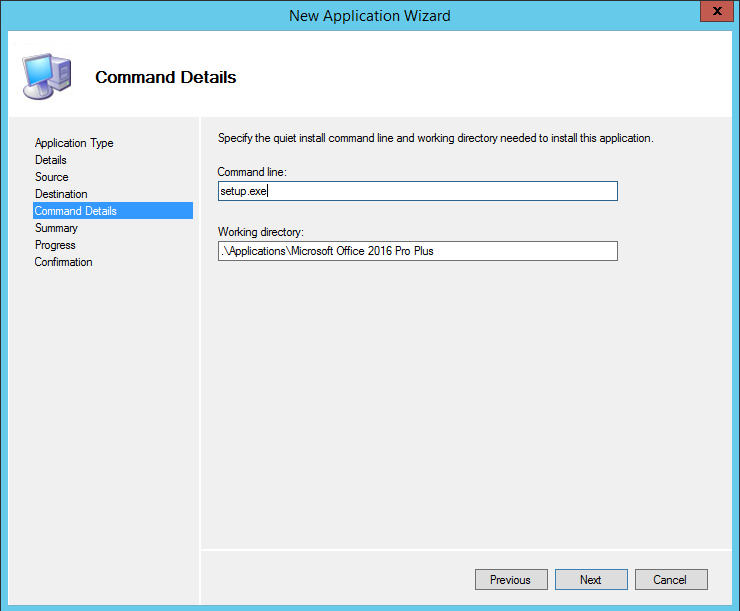
To run the tool, execute the Office setup.exe command with the “/admin” modifier/switch.

setup.exe /admin

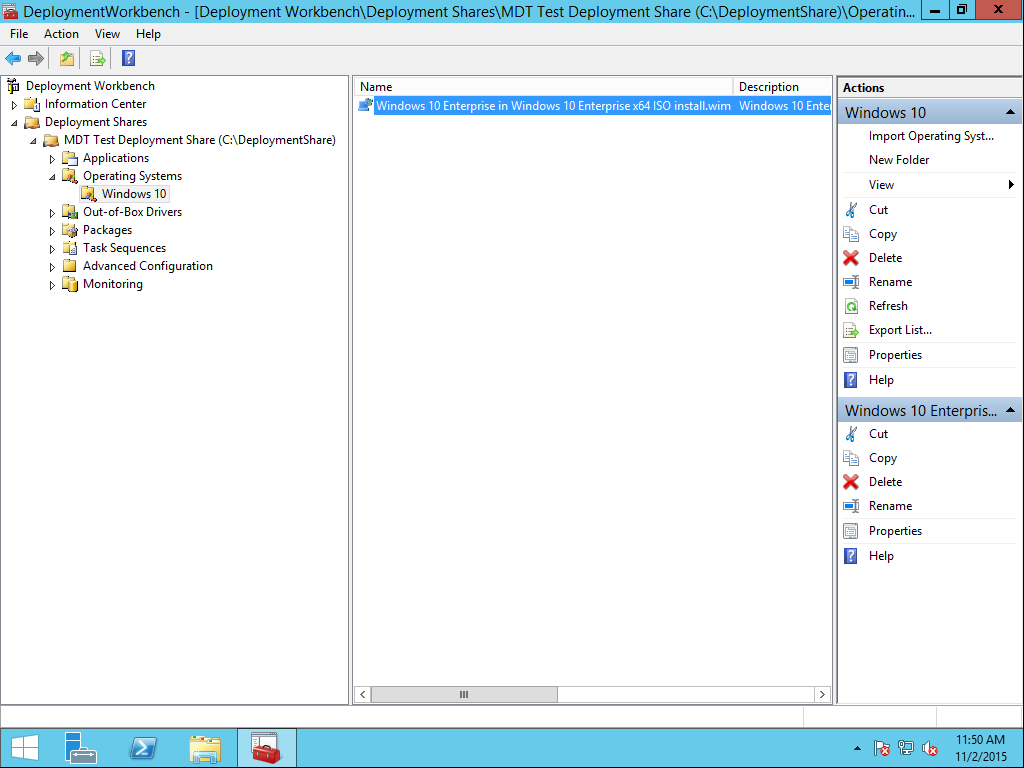
If Office has been imported into MDT, the application’s property sheet contains an “Office Products” tab where the customization tool can be launched. The tool contains no wizards, just an explorer-style interface with categories to the left and individual settings to the right.

Welcome

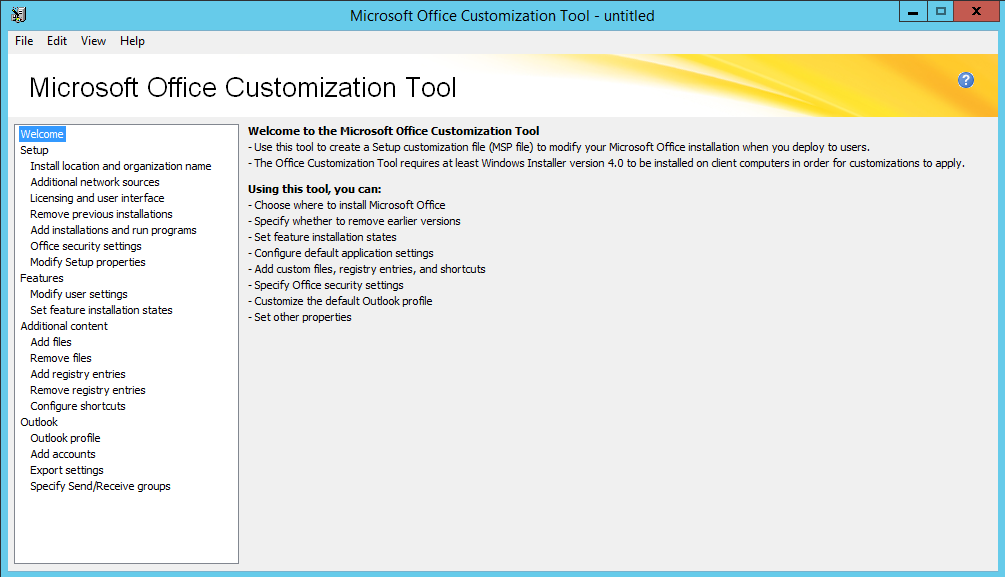
The welcome page for the Office Customization Tool, which comes with Office 2016.

There are a dizzying array of settings that could be configured with the tool, but only a few stand out to make deployment easier across the enterprise. During any Office deployment, the product key, registered user and organization, and product activation must be considered into the process to prevent prompts for end users, and reduced product functionality.

First is the “Install location and organization name” setting under “Setup.” The default install location is fine, just enter the appropriate organization name.

Next, is the “Licensing and user interface” settings a couple of lines down. Select the appropriate licensing scheme for your organization, accept the licensing agreement, and choose the display level of “None” with the “Suppress modal” check box selected.

Licensing

Choose the correct licensing and make sure to suppress any dialog boxes that may appear during the install.

Go to the “Modify setup properties” a couple of lines down. Here, we need to add two settings that will allow Office to auto-activate and prevent setup from rebooting the computer. The two properties are called “AUTO_ACTIVATE” and “SETUP_REBOOT.” SETUP_REBOOT is simply set to “Never”, and the AUTO_ACTIVATE option is set to 1.

Modify Setup Properties

Add the two settings illustrated and their prescribed values.

Under the “Features” section, choose “Modify user settings.” This will change things for the end user experience in Office applications. The settings we’re focusing on are the “Microsoft Office 2016 \ Privacy \ Trust Center \ Disable Opt-in Wizard on First Run“, and “Microsoft Office 2016 \ First Run \ Disable First Run Movie/Disable Office First Run on application boot.” these will get rid of the annoying first-run prompts a user sees whenever they open Office for the first time. Who actually a thought a movie would be what a user wants to see the first time they run Word?

Disable First Run Settings

Turn off all of the annoying first-run things that Office throws at the user.

Next, choose the option underneath “Set feature installation states.” This is where Office would ask what components should be installed. The computers I administer are in public locations, like classrooms, so Microsoft Outlook is not needed.

Office Features

Choose what you do not want installed with Office.

The last thing I do is create desktop shortcuts for Office applications. Choose the “Configure shortcuts” option under the “Additional options” section. Click the “Add” button to create a new shortcut. Choose the desired application for the “Target:” value. Choose the value “[DesktopFolder]” for the “Location:” property. One thing that must be done or this will not work is to add an open bracket “[” to the “Start in:” field. If this is not done, an error stating the start in folder is invalid will appear.

Desktop Shortcut

Create new desktop shortcuts the users should have for their Office applications.

We’re done! Now, the settings must be saved into an MSP file and placed in the “updates” directory of the Office installer. Choose “File” \ “Save as” from the menu at the top and choose a name for the MSP file. Microsoft recommends placing the numeral “0” at the front of the file’s name to guarantee it is the first to be read when Office is installed. Save the file in the updates folder of the Office installation directory. Now, each time setup.exe is run from that Office media, the setup parameters selected will be applied.

Enjoy!

Jason Watkins

11/3/15


MDT, Getting Ready for Deployments

As stated before, MDT needs an operating system before it can start deploying Windows. In addition to that, deployment tasks are needed to coordinate the deployment activities. One tenet put forth by Microsoft is to use MDT to create a “reference image” to be customized and captured as a custom image (WIM) later.

Having MDT create the reference image as much as possible will save a great deal of working updating Windows and installing applications. If it is preferred that all of the work for creating a reference image be done manually, that is possible too. A virtual machine is the best choice for creating a reference image for mass deployment. Virtual machines allow the creation of a true hardware-neutral installation of Windows. No hardware-specific driver or applications are installed, with the exception of things like VMware tools and the Hyper-V client software. Those can be removed prior to capture.

No install of Windows is very useful, out of the box, without additional software. In businesses, software such as Microsoft Office, Adobe Reader, and antivirus software are used to provide functionality. MDT can install applications as part of a deployment task in addition to connecting to a WSUS server for updates. WSUS offers a closer point for updates rather than going all the way to Microsoft Update over the Internet.

To add applications to MDT for installation with a deployment task…

Open the MDT Deployment Workbench and go to the Applications folder. Like the operating systems folder, I like to organize the Applications folder by manufacturer, product, and version. This approach is completely optional and not required. To create folders, just right-click the Applications folder and choose “New Folder.” Folders can be nested inside of one another.

MDT Applications Folders

Software folders created under the larger Applications folder.

To import applications into their respective folders, right-click that for and choose “New Application.” A wizard will start, prompting for information. For example, Microsoft Office 2016 Pro Plus.

The first step is to choose the type of application source files, though other options exist to use application files on a network share, and to create an application bundle (more on that later).

Application Type

Select the appropriate application type.

Next, the wizard asks for the application’s details. Only the application name is required. It is best to be as descriptive as possible.

Details

Enter in the appropriate information.

Where the source files are located on the file system is the next question. Provide the correct location and choose “Next.”

Source

Browse to the source for the application’s files.

The next step is to choose the name for the application’s destination directory in the deployment share. The application name and version from the details page are provided as a default. If that should be changed, now is the time to do it, not later.

The “Command Details” page asks for the silent install command for the application and provides the working directory in the deployment share. Microsoft Office’s silent install command is simple, “setup.exe.” However, Office has a customization tool, which is available by running “setup.exe /admin”, that allows an MSP modification package to be created with installation settings and customizations. MDT is aware of this and provides an option to run this customization tool from the application’s property sheet. Placing the final product of the customization tool, an MSP file, in the Updates folder of the Office install directory will have it used each time Office is installed from that location.

Command Details

Microsoft Office uses setup.exe for it’s silent install command, but other applications may vary.

Finish the rest of the wizard with the Summary and Progress screens and Office will be imported into the Applications folder on MDT. After that, further customization can be made to the application. Microsoft Office has the unique “Office Products” tab which is specific to that application.

Office 2016 Properties

The Microsoft Office 2016 property sheet in MDT. Note the Office Customization Tool button.

Many other applications can be added to MDT this way. I’ve had the best results with the MSI version of applications, but those are not always available. To get started with a fully functional install of Windows for my users, I include the following applications. Download link in the name and the silent install commands are in parenthesis.

Microsoft Office (setup.exe)

Microsoft Visual C++ 2005-2012 Redistributable x86 and x64 (vcredist_x64.exe /Q)

Mozilla Firefox (FirefoxSetup.exe -ms)

Google Chrome Enterprise (msiexec /q /I googlechromestandaloneenterprise.msi)

Adobe Reader (msiexec /qb /i AcroRdrDC1500720033_en_US.msi TRANSFORMS=AcroRdrDC1500720033_en_US.mst)

Note: Adobe Reader uses a transforms (MST) file to supply the unattended installation parameters. That file is created with the Adobe Customization Wizard, a separate application that must be downloaded and installed from Adobe. Also, Adobe doesn’t provide the full installer for Reader and other products from its regular download location. To get the full versions, one must apply for a free license to distribute Adobe products in the enterprise. Don’t use the regular consumer download location for Adobe products. Apply for the distribution license here.

Other applications like Flash-player, Shockwave, Java, and Adobe AIR change often. I do not usually include those in the reference image unless an installed application specifically require it. There is a good question around whether or not Flash-player should be included given its common security vulnerabilities. Those applications I choose deploy with the finished image along with the antivirus software. It is not that much of a task to add/update the install packages for Flash-player and such as they become available.

With this all in place, deployment tasks can be created to create a reference image of Windows 10 and Office 2016.

Jason Watkins

11/3/15


MDT, Importing an Operating System

In order for MDT to do anything, it needs an operating system to capture or to deploy. MDT 2013 Update 1 will use operating system file from the Windows installation ISO, or captured from a custom installation. Either way, the file format for the operating system must be in Windows Image (WIM) format. Starting with Windows Vista, Microsoft switched to WIM format for the files on the original installation media (DVD or ISO). Windows 10 is no different.

To get started, the original installation image for the version of Windows to be deployed must be imported into MDT. For example, we’ll import Windows 10 Enterprise into MDT with the “Import Operating System wizard.” I like to organize the operating systems and other files by category.

Mount the operating system ISO, or insert the operating system DVD into the MDT server.

Open MDT, and navigate to the Operating Systems folder.

Right-click the operating systems folder and choose “New Folder.” Call it “Windows 10.” At this point you could create a sub-folder to Windows 10 after the bit strength of the operating system, x64 or x86, but since I only plan on dealing with 64-bit Windows 10 there is no need.

The new Windows folder under the operating systems folder in MDT.

The new Windows folder under the operating systems folder in MDT.

Right-click the new Windows 10 folder and choose “Import Operating System.” A wizard will appear, guiding the process.The first place determines what kind of image is being imported. Our example will import “Full set of source files.” The “Custom image files” is for a customized install of Windows captured as a WIM file.

Full set of source files is needed to start with MDT.

Full set of source files is needed to start with MDT.

Next, navigate to the drive that contains the source files that are to be imported into MDT. here, it is drive “E:\”

Navigate to the source directory where the operating system files are.

Navigate to the source directory where the operating system files are.

The next step asks for an operating system directory. The default is to take it from the title of the ISO. I added the word “ISO” to the end of the name, so it can be distinguished from other operating system files. This name is the name of the folder the operating system files will go into in the deployment share, under “Operating Systems.”

Give the target directory for the OS a descriptive name.

Give the target directory for the OS a descriptive name.

Continue through the summary, and finish importing the operating system into MDT. The import will take a few moments to complete. After the import is done, the new OS will be in the deployment console, under the name it was given.

The imported OS WIM in the deployment workbench.

The imported OS WIM in the deployment workbench.


With Windows 10 into MDT, we can create deployment tasks to install Windows 10 on computers and even capture it back after customization. That will be next.