
The Microsoft Deployment Toolkit (MDT), a very nice option for deploying Windows in small to large environments.
Symantec Ghost was the de facto tool we used to deploy Windows to end user computers. One big issue was that Ghost, as a product, wasn’t updated to keep pace with the new versions of Windows. Another issue with Ghost was driver management. There was no easy and reliable way to configure a central driver store that the images could use, so multiples images, one for each hardware type, had to be kept. MDT uses a shared, central store to keep drivers. Initially, Ghost was able to automatically reboot client into an image task via a desktop agent. As Windows progressed in development and Ghost stagnated, the compatibility with Windows PE, the tool used by Ghost to start a computer into an imaging task, became nil. To use Ghost, at the end, each client computer had to be manually started into an imaging task with a USB boot key.
The requirements for any new imaging system included a hardware-neutral image creation process, a central driver store, and the ability to remotely initiate an imaging task on a client computer (zero touch). Two out of three isn’t too bad. MDT offers the ability to use a hardware-neutral imaging process with a central driver store, but it doesn’t specifically offer zero touch imaging. The higher-end product, Microsoft System Center, does. MDT is centered around a lite touch approach which requires a minimal, and manual interaction with the target desktop. Many settings, however, can be automated to the point of complete autonomy. Best of all, unlike Microsoft System Center, MDT is free of charge.
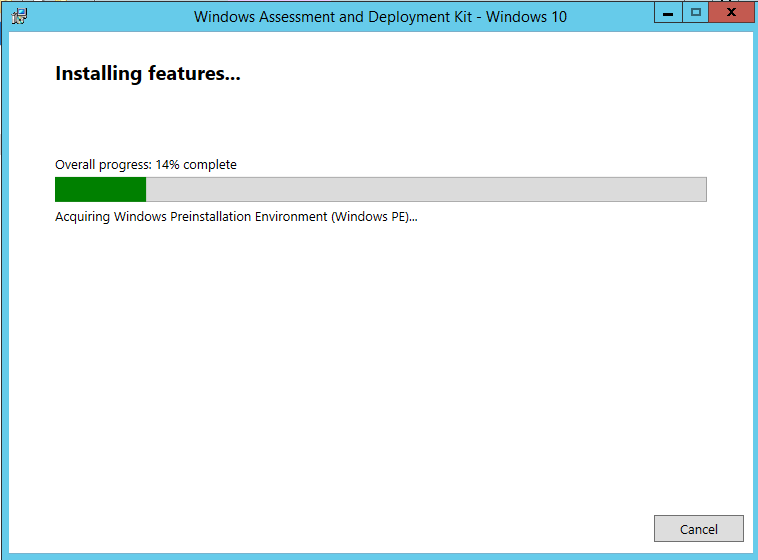
To use MDT version 2013 Update 1, Windows 7 or better is needed as a source platform. I tested with a proper version of Windows Server 2012. Windows Server is required at some point for PXE-booting capability via Windows Deployment Services (WDS). WDS will allow a PC to boot to a network-based Windows PE image, created with MDT, and commence imaging. Windows Server will also support more than ten simultaneous SMB connections unlike a desktop version of Windows. An essential part of setting up MDT on a server is the Windows Assessment and Deployment Kit (ADK) for Windows 10. The ADK contains the tools necessary to create the deployment infrastructure for MDT, most notably Windows PE.
For example:
- Install Windows Server 2008 R2 or better and update it to it’s fullest extent (that may take a while), in addition to installing antivirus software and joining an active directory domain (optional).
- Then, install the ADK for Windows 10, which covers deployment for Windows 7, 8, 8.1, and 10 as well as the servers. If there are no plans to use the MDT database with the server, SQL Server Express need not be installed with ADK. SQL can always be added later if the requirements change. Reboot the server.
- Install MDT 2013 Update 1 on the server. If you’re unsure over which version of ADK or MDT to install, go with the x64 version. In my experience, the x64 version will deploy a 32-bit (x86) operating system, if need be.
ADK for Windows 10 installing on Windows Server 2012 R2
Now, MDT is set up on a server but it cannot do anything yet. There is much more configuration necessary to get to a working imaging and deployment solution. The first part is to create a deployment share. Everything MDT does is from within one or more deployment shares. Since MDT is very similar to a dedicated file server which shares Windows images and applications, it is best to use a very large storage space for the deployment share. I tried to set up a deployment share on a separate DFS path from the server’s own file system, but it did not work. Windows PE couldn’t find that deployment share during a deployment task sequence. For testing, a 1TB volume was more that sufficient for test and low-level production use. I’d split the 1TB volume into two partitions, one for the operating system, and the other for MDT’s deployment shares.
Should I dedicate an entire server or VM to MDT? It really depends on how much use is planned for it. Even if MDT is used to create and pull custom images of Windows which contain only the bare minimums necessary to create a usable, working Windows install, those images will start to take up space. Use as a traditional file server in addition to MDT is practical, but there may be performance deficits during times of peak imaging. YMMV…
Another important thing to note is that at this point, before the MDT config is set up, make sure the host name for the server is set to the desired name. Windows PE uses the server’s host name in the UNC path to connect to the deployment share during an imaging task. If the server is renamed, post MDT-config, those changes will NOT propagate to the deployment shares. It is not that much of a big deal to modify the deployment share to use the new name, but it is a hassle and best avoided.
To create a deployment share, open up the MDT Deployment Workbench as an administrative user on the server. It might even be a great idea to pin a shortcut to the Deployment Workbench to the task bar or desktop. The deployment workbench is divided into two sections, the Information Center, and the Deployment Shares. Choose the lower-half of the window, and right-click Deployment Shares and choose “New Deployment Share.” A wizard will appear, walking you through the creation process.
The first part of the wizard is to establish the local file path for the new deployment share. The default is “C:\DeploymentShare.” I would make this on a volume that is not shared with the operating system and that has plenty of space available. The new share can be named anything, but it cannot and should not ever be renamed. What name is chosen here is what will be for that share for it’s duration. Since I’m just testing here, I’ll go with the default.
 The next step establishes the new deployment share’s share name, which is just the chosen name of the folder with a dollar sign ($) appended. In this example, the share name is “DeploymentShare$.” This share must be freely available on the network to clients that will be imaged with MDT. As stated before, the name of this share should never be changed once it is established.
After that, the next step is to give the new share a descriptive name. Again, this can be anything. If multiple deployment shares will exist on the same server, this name will be used to differentiate them in the Deployment Workbench. Be succinct and descriptive.
The Options page prompts for information that will form the basis of the deployment share’s configuration file, CustomSettings.ini. Any setting chosen here can be changed later on by editing that file. Usually, the defaults are fine for starters.
 The next screen is a summary of the options chosen up to this point. The opportunity to go back and change anything is available here. Once this the wizard has advanced past this screen, the option to go back is no longer available. Make sure everything is as desired and proceed. The wizard will create the share and upon a successful completion will present it in the Deployment Workbench.

The new deployment share in the Deployment Workbench
Despite being created, the new deployment share cannot do anything yet. In order for it to become functional, the new deployment share needs one or more operating system images, applications to deploy at the time of imaging (optional), drivers for the deployments, and task sequences to coordinate the deployment process. The deployment share is divided into several folders, each named after it’s intended function. A right-click to any of those folders will provide the option to add content to those folders. Sub-folders can be added under the main folders for further organization. It is a good idea to divide your operating systems folder by the OS being used, the drivers folder by the manufacturer and model of computer holding the drivers. It doesn’t have to be done that way, but organization provides further opportunities for customization down the road.
The deployment share is controlled by a configuration file, a text file called “CustomSettings.ini.” The file resides in the deployment share’s folder, in the Control folder. CustomSettings.ini (CS) can be accessed easily by right-clicking the deployment share in the Deployment Workbench and choosing “Properties” and selecting the “Rules” tab.

A default CustomSetting.ini in the deployment share properties.
Bootstrap.ini is a configuration file that is placed on the Windows PE volume when the deployment share is updated. Some of the configuration changes made to a deployment share are incorporated into Windows PE once the deployment share is updated. Upon update, the Windows PE volumes are created with the Bootstrap.ini file, drivers and any other selected options. The deployment share need only be updated when drivers are added/removed from the deployment share, and changes made to the Bootstrap.ini file. To update the share, right-click it’s folder in the Deployment Workbench and choose “Update Deployment Share.” The first update will take a while to complete as all of the drivers, or just the selection preset, are added to Windows PE. After that, the Windows PE ISO is only updated with the most recent changes made to the deployment share, unless the share (Windows PE) has been selected to be completely rebuilt.
Jason Watkins
10/30/2015
The next step is located here.
Note: Microsoft has a great series of Technet articles on how to deploy Windows 10 with MDT. The information contained in this post is a much simpler version of that information.